

BEFORE building your mold, there are several things you have to consider:
* You are going to have to stand very still with excellent
posture without moving for at least an hour.
* The mold is going to be very fragile.
* If you move or shift, your mold is not going to be accurate.
* You might want to protect your skin if it is particularly
sensitive.
* And lastly and VERY importantly, you CAN'T do this part alone!!! All the other parts you can do pretty much by yourself, but you can't wrap yourself in plaster bandages and then cut yourself out by yourself! You need at least one friend to wrap the bandages on you and then cut you out.
* Also, keep in mind that you are going to be basically naked except for a ratty old pair of undies that you are ok with ruining, so you better do this project with someone where there is mutual comfort with seeing most of your bare naked body, and in fact getting very hands on with said body. In a 100% business way, of course.
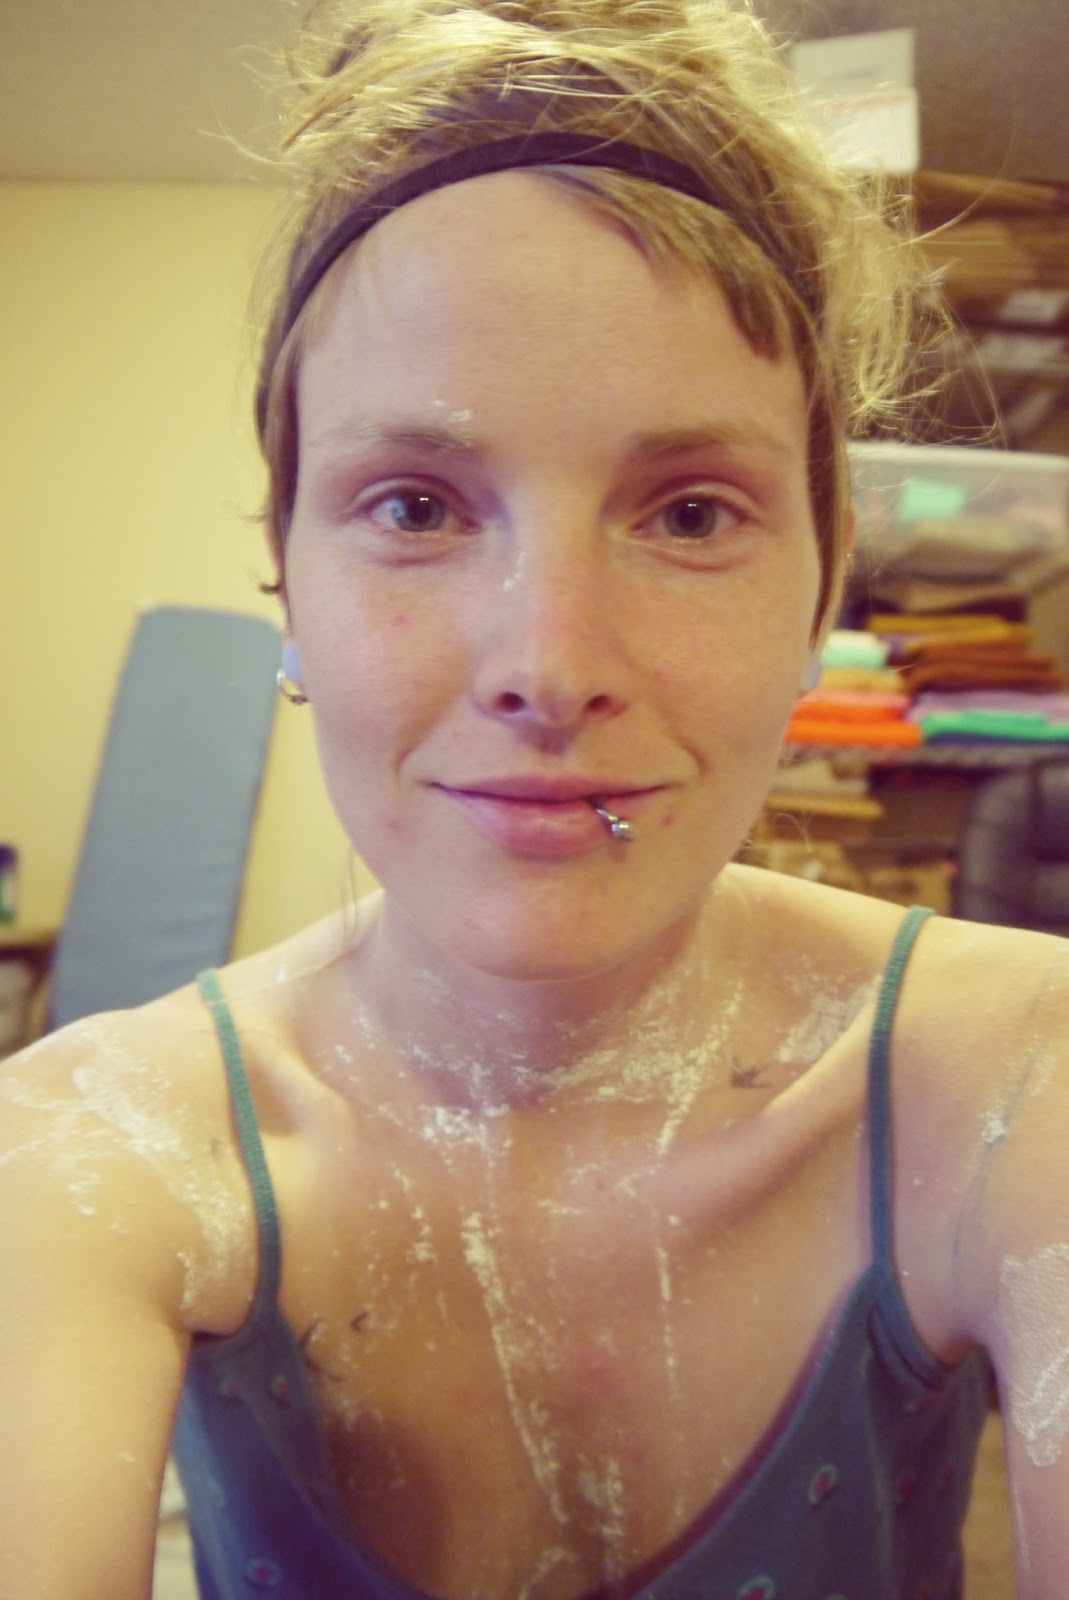
p.s. I hope you like this ridiculous picture of me (left) and my friend Rachel (right) who is always adventurous and hilarious, which is pretty much the perfect thing for a project involving getting almost naked and then having to literally stand around like that for a couple hours.
For this stage, you will need:
1) Plaster Bandages
I used this product: http://orthotape.com/3_inch_face_mask_plaster_bandages.asp which is a package of twelve (3 in. by 5 yard) rolls for $22 plus shipping. Rachel and I shared two 12 roll packs, and there was still enough left over for me to do leg casts later on, though I had to skimp a little. The shipping was around $15 for our two packages, so it totaled $57, or about $28.50 each.
2) A shallow tub or tupperware to wet the plaster strips in that you don't mind getting plaster stuck to (it doesn't need to be very big).
3) Something to stand on that will protect a large area of floor and is preferably water proof. I used an old bed sheet, but obviously that is not waterproof. A tarp or plastic sheet might be better, but check to make sure it's not going to be slippery if you drip water all over.
4) A very good friend who you trust and will be able to comfortably place wet strips of bandage on you and smooth them down snugly over pretty nearly every inch of your torso.
5) Bandage scissors. I did not have these and it proved very difficult to cut us out with regular scissors. We also used a razor blade for some help, which I do NOT recommend because it is very dangerous, even though we did it successfully with some time and care.
6) A surface to lay your molds on while they dry completely, and extra old sheets or fabric and heavy bottles to prop the molds so the don't fall out of shape.
Ready to do it?
You should be wearing just an old pair of underwear, or at least a pair that you don't mind throwing away when this is done. You can also wear a bra if you feel you need one, but know that it will also be ruined, and the shape of the bra will be built into your mold, so it be the same kind of bra you normally wear under your clothing. I didn't wear a bra, but Rachel did wear a light cami-type bra, which ended up being a little difficult to get proper shaping around the bust. That's why I recommend wearing a bra that will create an accurate shape for yourself, but just remember you will pretty much be ruining it. I suppose you could try first wrapping yourself in plastic wrap before the plaster bandages, but I can't say exactly how difficult that would be or how well it would turn out.
All you need to do is cut the bandages into strips maybe 6 to 8 inches long and start methodically dipping them in the water and placing them on your body. We started at the chest and shoulders and worked downwards, carefully shaping the armholes and making sure there were no air bubbles. You have to work pretty fast because the bandages start to dry with your body heat fairly quickly. Do one layer all over and then repeat until you are covered with about 3 or 4 even layers. I think we found weak areas by poking the shell all over and if we found a place that dented in, we added more strips there. Your shell should not bend or crease (which you should not even attempt to do anyway, since you should be standing totally still and strait)! Don't be tempted to look down or twist. If you have to look at something, use a mirror.

Once you are covered in enough layers of plaster strips, you need to wait still until you can tell that the mold has really hardened. I suggest waiting at least 30 minutes after the last strip is added. Remember to go pee before you start this process, because once you start you are stuck!!
When the plaster feels nice and hard and dry on the surface, your friend can cut nice clean incisions up each side from the bottom edge to the armhole, and also cut across each shoulder from shoulder to neck. This is scary, but that is why you have to choose a friend you can trust. And use the bandage scissors- this is what they are designed for. This is a little tricky and you have to be careful. Getting cut is a risk you have to accept, though we had no accidents.
After you make these cuts, you will be able to gently pry the front and back pieces off your body. Do this carefully because the mold is still fragile! Try not to crumble the edges or warp the whole piece. To let the molds finish drying, find a nice surface where they can sit for a good 24 hours without being disturbed. they need to be propped up carefully around all the edges and under the curves so the weight of the wet bandages doesn't cause the molds to splay open or collapse, even a little bit. Try to make sure they retain exactly the shape they were in on your body. The most important thing is to support under the waist so it doesn't droop, and also prop up the sides so they don't droop open. (This is something I see happening in some of the DIY tutorials I've looked on online- you can recognize it by unnaturally wide and flattened looking hips/buttox areas.)

Molds drying, propped with random bottles and candle jars and wads of fabric.
This is basically what you will look like after you get out of the molds (and after you put on some clothes, of course):

You can tell the molds are completely dry when they don't feel cool to the touch. They will also feel considerably more light weight, more like paper.
The next step is to sew the molds back together. I used waxed linen thread and a curved upholstery needle, which you can get at probably any good craft store for around $10. You will need plenty of thread since you will need to sew with slightly large whip-stitches. Make SURE to line up your molds properly. This is not very difficult because you can see where each bandage strip should match up. Sewing the pieces together took some time, but the mold was more sturdy than I expected and it held together quite well. I sat on the floor and propped the mold with my legs while I sewed. Check out the pics below of what the finished product looked like:


At this point your mold looks quite fascinating, and you might be tempted to take thousands of pictures of it, which I do recommend. This is a project well worth documenting! Plus, it makes your body look like a statue of Venus.
I will pause for now and let you take a breather before continuing to the next step of building the stand. Just building the mold alone is quite enough for a couple days!
For the next steps on building the frame, handing the mold, and filling the mold with foam, see Part 2! When you are ready, the final phase can be found in Part 3.
9 comments:
Good job! I made one too but only the torso. Love it! Isn't it handy?
When will we see step 2? I've been fantasizing about doing this for almost 20 years - Threads magazine had an article on it way back when, but so few other people do it this way, and not many do it well. I really want to see the rest of your process- it might give me enough courage to do this!
I just realized how overdue I am for the next installment of this tutorial!! I will try to get that out by the end of the week! <3
Can't wait to see the next step!
Is this possible to remove with garden shears? I saw some plaster shears online but they're 30 bucks... and that seems like a large expense for something I'd only use once or twice. :/ I'm afraid bandage shears wouldn't be strong enough for the plaster?
I havr a very large bust that looks 100% different with a bra on. Could this be done with an old bra on also? I have 14 of the same bra so i know that they (breasts) will be in the same place.
Yes, you could definitely do this with a bra on. It's actually a very good idea to do that.
Hi There and Thanks so much for creating this very helpful site!
1) What are the pros and cons of having or not having legs? . How much better is it to have legs on the mannequin?
2) I like the idea of an IV pole. If I do make legs is there a way that I can insert a pole up one leg or would this throw it off balance? I’d also like to have the pole be able to be adjustable so perhaps I need to make something myself that can adjust from the lower end (as Jezebel/Jenna's tutorial discovered that the adjustment knob got buried in the foam)..? I like the idea of wheels and to be able to turn it might be good..? Thoughts?
3) What do you think of the comment below? (from Jenna's tutorial Link):
Also, at the foam-filling stage, cut a chunk of soft foam and use expanding foam only between your shell and the soft foam core - then the pressure of the expanding foam will squeeze the core instead of deforming your shell. Sorry, I’m an engineer who used to sew a lot..."
4) You covered yours in what looks like a thin-ish material and Jenna's looks thicker...Pros cons. of each?
Love the look of your "doll".
Many Thanks!!! Kimi
I did this many years ago but I did not use plaster and did it by myself. I took a man's tank top ribbed undershirt and let it soak in white craft glue (Elmer's) meanwhile I took plastic wrap and (with bra on) wrapped myself in plastic wrap. Then put on the shirt and went outside until it dried from the wind and sun. Cut up the middle of the shirt when dry and stitched it back together with dental floss. Then I mounted on an old mannekin shape.
Post a Comment